
The following article will appear in our upcoming Power Boating Canada Volume 35 Number 3. Want to subscribe for future issues? Click here!
Just a couple issues ago, we were all preparing our boats for what we hoped would be a great summer; now, a unique boating season is coming to an end.
Preparing for winter storage lies ahead, and there’s a “lay-up” process to complete. You may feel comfortable doing some of the work yourself while you may choose to leave other aspects to your servicing dealer – decide what’s best for you.
Let’s start with the fuel system. Be careful while working on it: gasoline is extremely flammable and highly explosive under certain conditions. Ensure the ignition is turned to the “off” position.
If your boat will be stored for three months or more, we highly recommend a gasoline stabilizer and conditioner added in the fuel tank. Replace all fuel filters; most engines are equipped with a fuel and water separating filter similar to your oil filter (a spin-on canister).
When these filters are installed and secured, turn your attention to an oil and filter change. You will need a good water supply to the engine. Do not run the engine without supplying cooling water to the seawater pump. Start and run the engine to bring it up to normal operating temperature, then shut the engine off and change the oil and filter.
After changing the oil and restarting the engine, remove the flame arrestor assembly. While running the engine at a fast idle (1,000 to 1,500 rpm), fog internal surfaces of the induction system and combustion chambers by squirting ten to twelve ounces of Storage Seal or SAE 30W engine oil into the carburetor bores.
After the engine has started to smoke, stall it by rapidly squirting a few more ounces into the carburetor bores. If the engine does not stall out, turn off the ignition key. The piston rings and cylinder walls will now be coated with oil – they won’t rust over the fall and winter while your boat is in storage.
That completes the procedure for sterndrives. With outboard motors, accomplish the same goal by uncovering the carburetors, disconnecting the fuel line, and – as the engine runs out of gas – squirting oil in the carburetors. By fogging through the induction system, you will have oiled all internal engine parts. As an added safety measure, remove the spark plugs and squirt a bit more oil into each cylinder. Replace the plugs after and turn over the engine by hand.
Next, remove the flame arrestor and crankcase ventilation hoses for cleaning, and then reinstall them.
Check your owner’s manual for various lubrication points on the engine and outdrive. By lubricating, you eliminate condensation that could cause parts to seize over the winter.
Remove all water from the engine block, exhaust manifolds, seawater pump, and oil and transmission coolers if your boat is equipped with them. If you are unsure whether you can handle this step, call a qualified service technician to help. Engine winterizing can cause expensive damage if improperly done.
Some engine models have closed cooling systems and only use fresh or raw water to cool the heat exchanger, oil cooler, and transmission cooler. If your boat is equipped with a closed cooling system, the glycol mixture in the engine must be tested to confirm the solution will not freeze.
Outboard motor owners should note that, so long as the motor is in the upright (trimmed in) position, the powerhead and gearcase will be self-draining.
Sterndrive and outboard gearcases should be drained and refilled with the manufacturer’s recommended oil. By so doing, you can detect the presence of water or bearing and gear failure. Once detected, these problems can be easily corrected over the winter months to prevent breakdowns at next year’s boating season peak.
With the exception of some cleaning and touch-ups, the process is finished. Clean the outside of the engine and outdrive, and repaint any areas where bare metal shows. After the paint has dried, spray everything with an anti-corrosion lubricant.
Doublecheck your work and then store your boat. The last task ahead of you – after your boat is dry-docked – is to remove the battery. You’ll get best results storing your battery inside, not on a cement floor. You will also be best served fully charging the battery before storage plus once every thirty days until next spring’s launch.
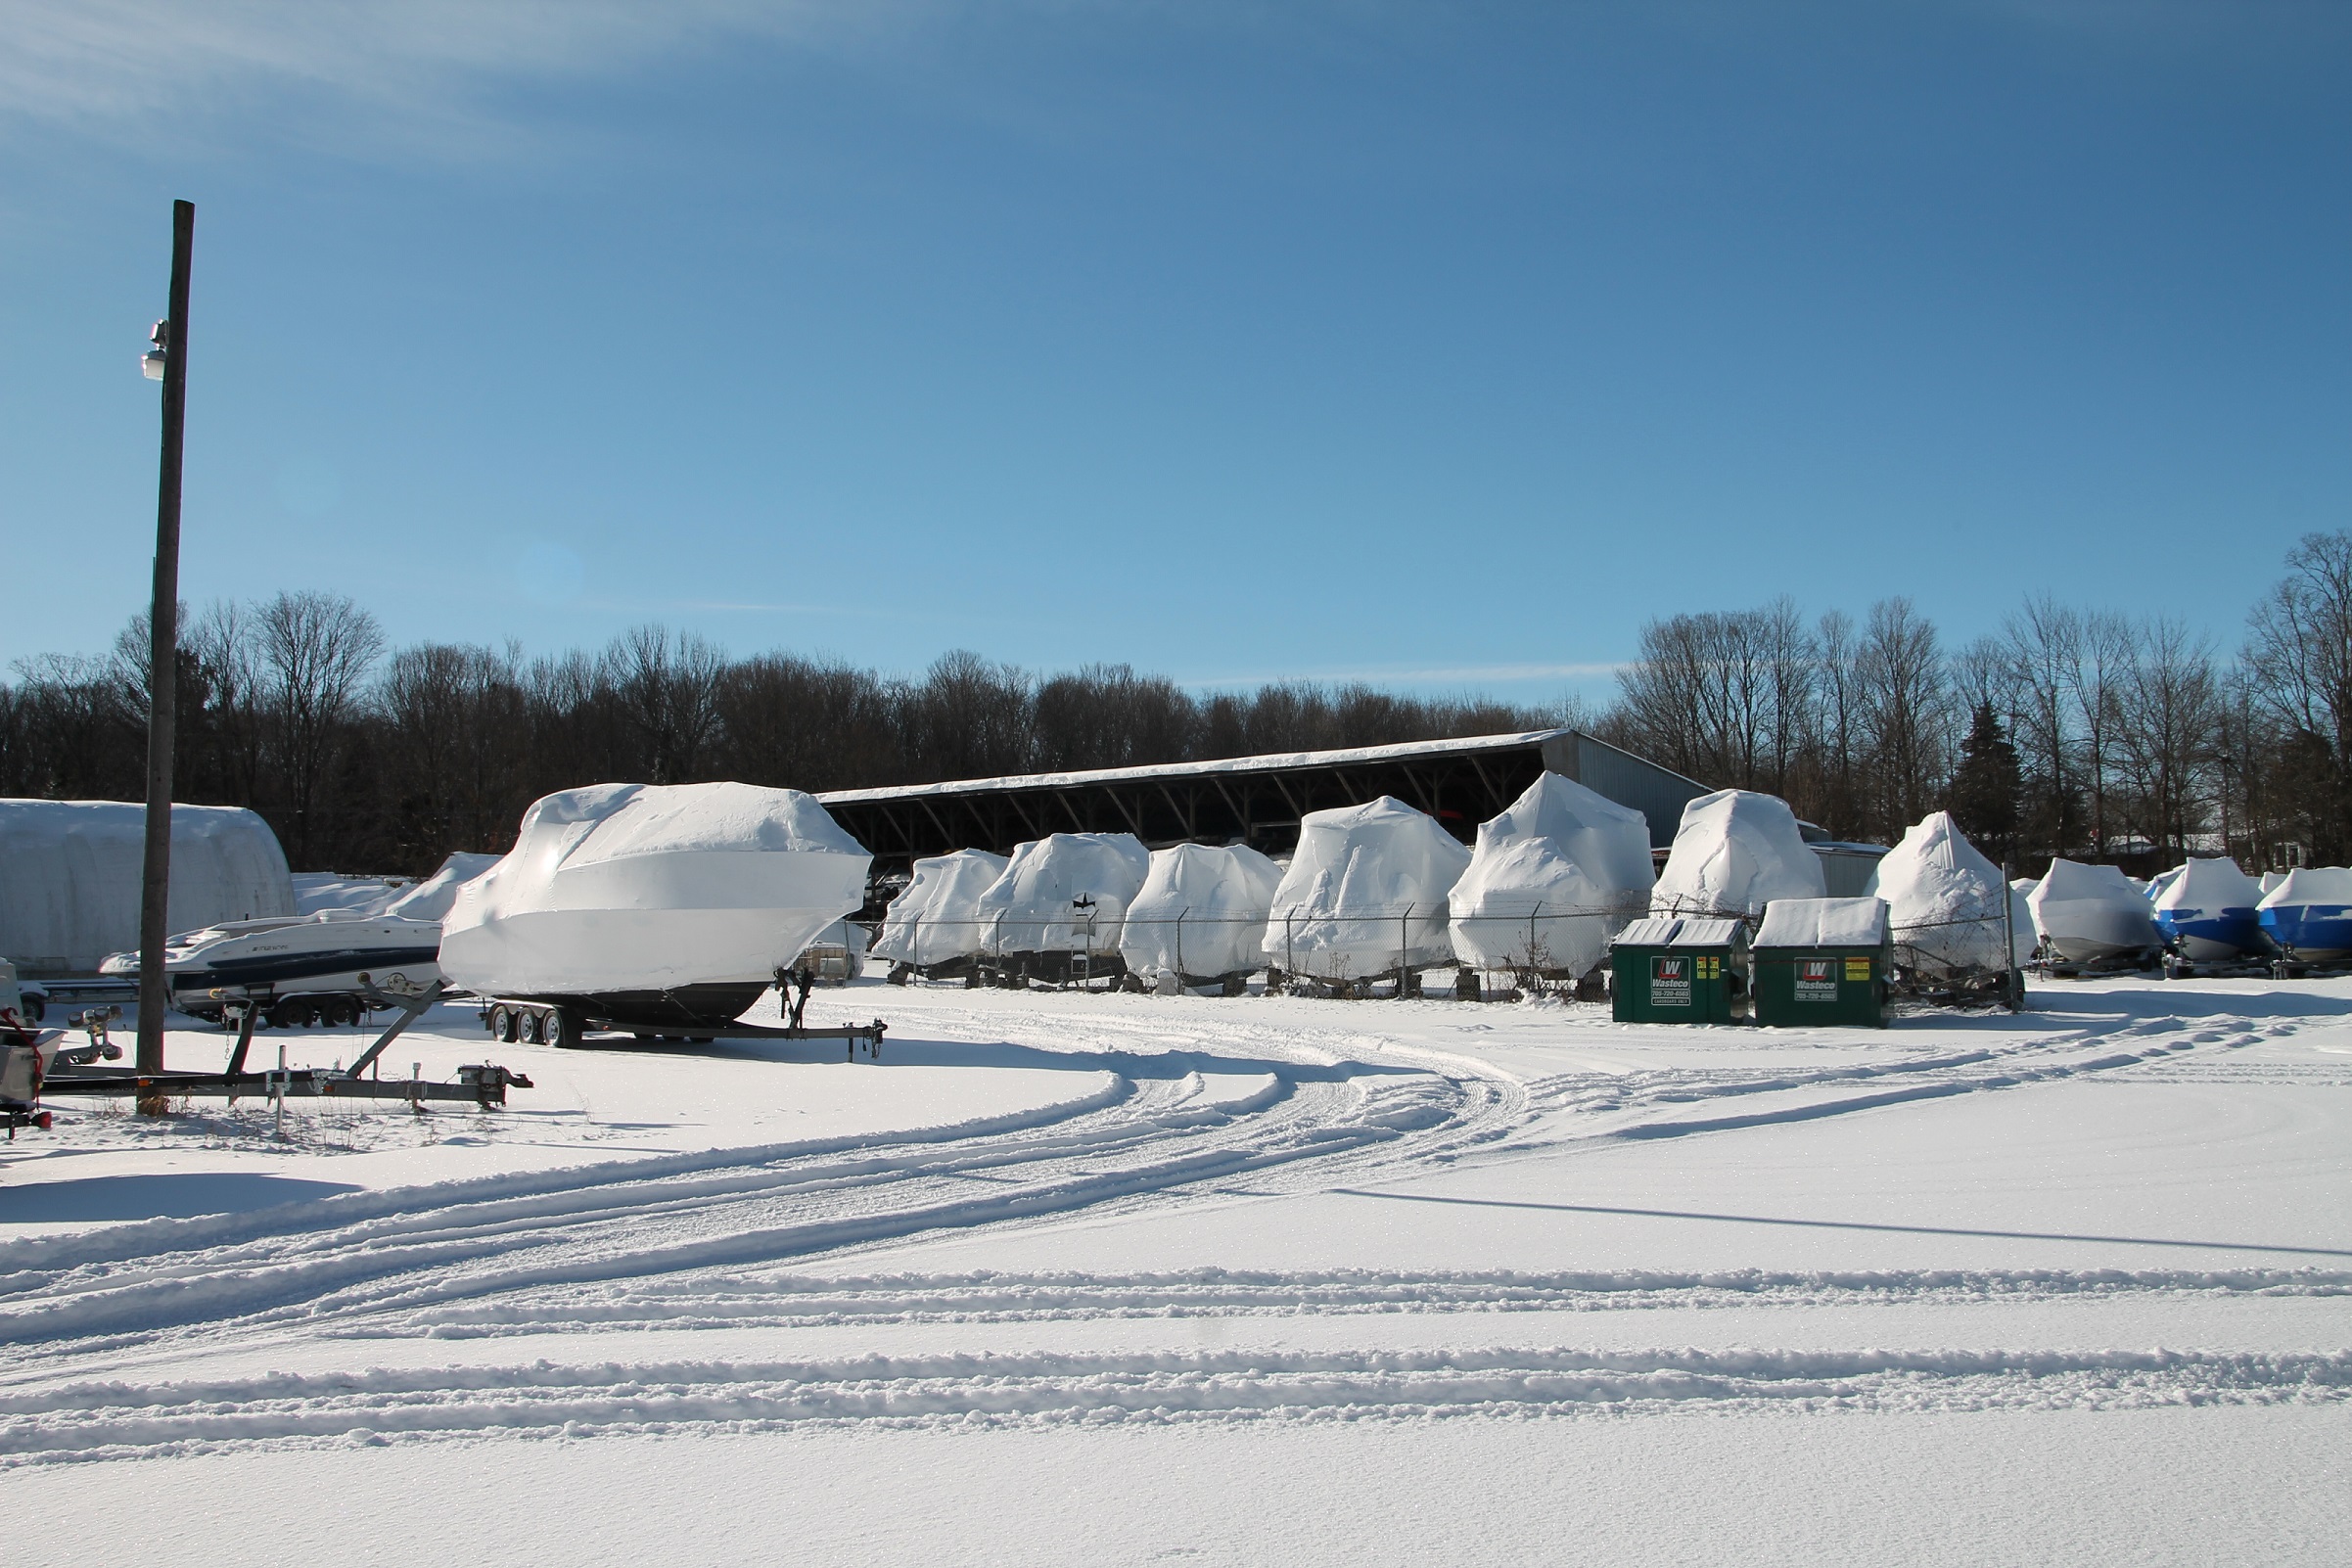
Most of us store our boats at a commercial storage facility over the winter. In the next column, we’ll take a look at some of the products you can use. We’ll also explore the little things you can do to help keep the shine on your boat while it’s stored until boating season.
Keyword : boat advice, boat DIY, boat Guru, boat hints, boat hitch types, boat lifestyle, boat Lifestyle Magazine, boat Tech, boat tech Talk, boat tips, boat touring, boats in winter, choosing a hitch, expert boat advice, Hitch Hints, hitching a trailer, How to fix your boat, how to hitch a boat, How to tow a boat, Tech, Tech Talk, towing tips, travel trailer tips, what boat is best, winterizing boat advice, boat DIY, boat Guru, boat hints, boat hitch types, boat lifestyle, boat Lifestyle Magazine, boat Tech, boat tech Talk, boat tips, boat touring, boats in winter, choosing a hitch, expert boat advice, Hitch Hints, hitching a trailer, How to fix your boat, how to hitch a boat, How to tow a boat, Tech, Tech Talk, towing tips, travel trailer tips, what boat is best, winterizing